We operate a Pimcore demo server on which you can test the Data Director. You can request the access data for the demo on this page: https://digital-commerce.blackbit.de/en/pimcore_data_director_demo
Please note that the server is reset every 24 hours at midnight. All changes will then be lost.
In addition to the demo server, we offer a guided, chargeable demonstration in which we prepare your use case with your data and present the solution to your requirement. Please contact our sales department.
- If you are reading this page within the demo, you can also open it in a separate browser window at this address: https://hilfe.blackbit.de/en/data-director-demo.
- In the admin panel of Pimcore, you will find pre-configured classes and assets that make it easy to understand how the Data Director works. Under "Assets" you will find the folder "demodata":
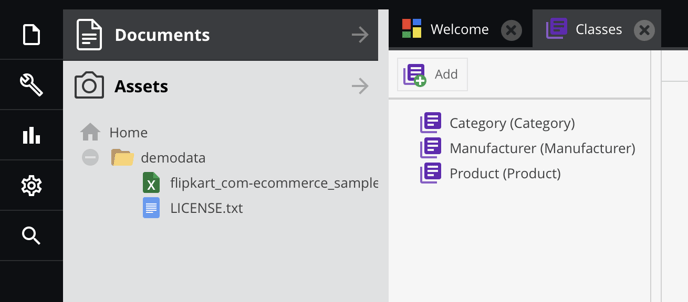
You can access the pre-configured classes via the menu on the left edge of the browser window:
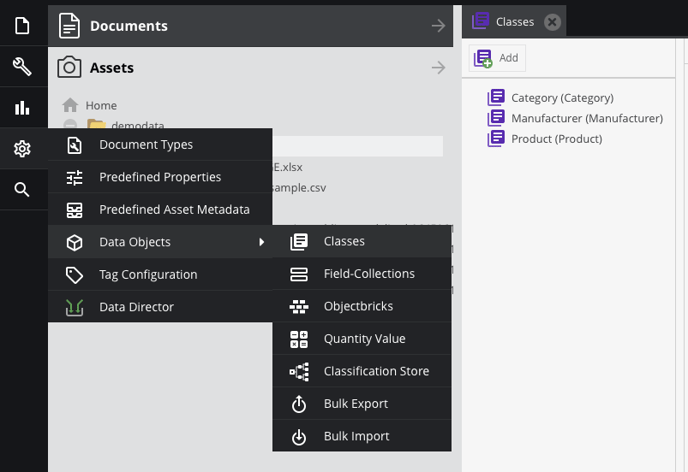
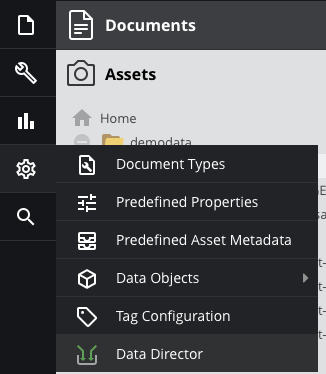
- The aim is now to create objects filled with data with the help of the data director (import). For this purpose, dataports are configured with the instructions for the import. This is possible via the graphical user interface of the data director. First, open the Data Director:
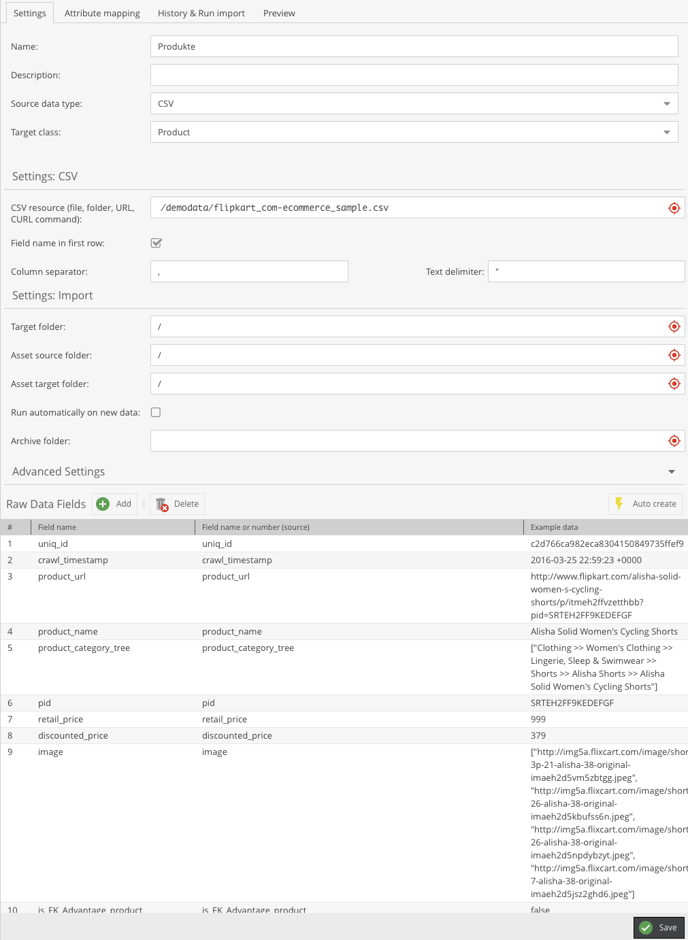
- Select "Add dataport" and assign a name. For example: "Products".
- The dataport is configured with just a few settings. To do this,
- select "CSV" as the
"Source data type" "CSV" and as the - "Target Class" "Product".
- Drag the file "flipkart_com-ecommerce_sample.csv" from the assets onto the red crosshairs of the field "CSV resource"
- Check the checkbox "Field name in first row"
- Leave all other settings as they are and select "Auto create" in the right-hand browser window.
- select "CSV" as the
- The field names are automatically recognized and when you save the settings, sample data from the CSV file is displayed.
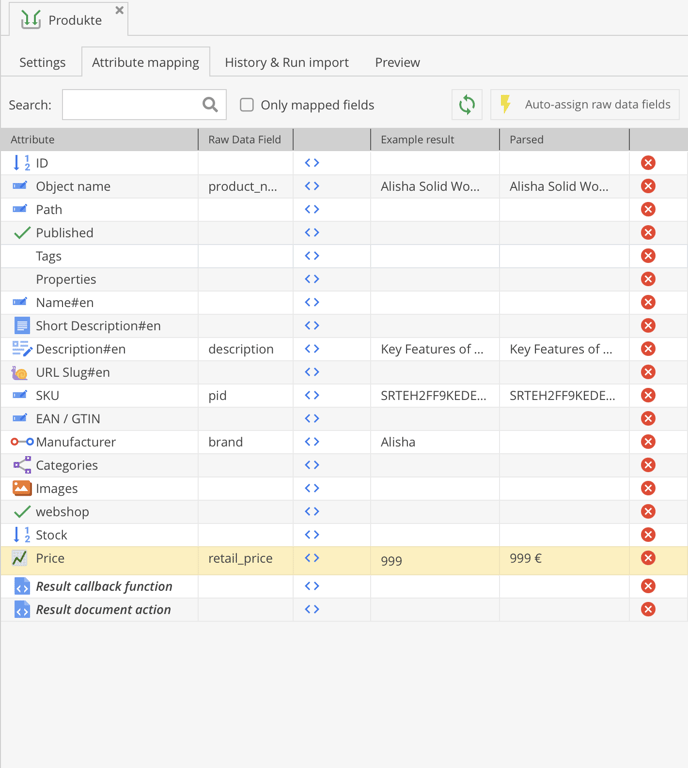
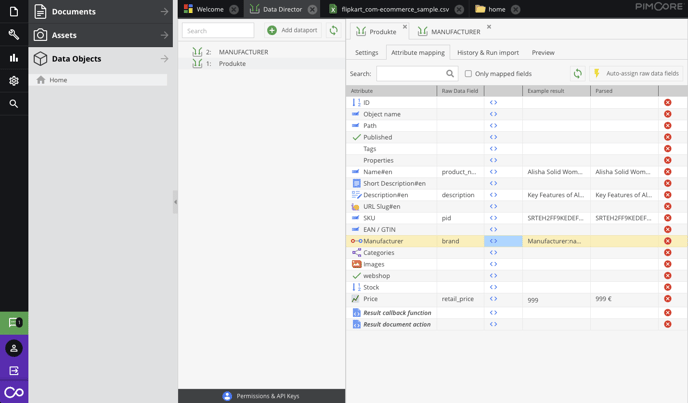
- In the next step, you assign the fields from the CSV to the attributes of the class. To do this, switch to the tab "Attribute mapping". Make the following settings:
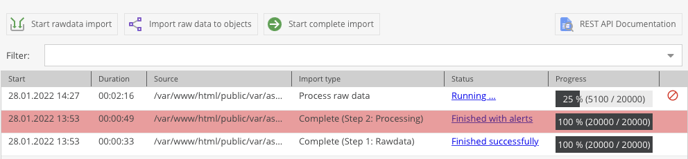
- Switch to the tab "History & Run import" and start the import via the button "Start complete import"
- The import is carried out in two steps.
- First, the data is imported from the CSV into an intermediate table, the "raw data". This makes sense because the data can also be automatically changed and edited during mapping. In this way, it is possible to see how the data was originally created.
- In the next step, the data is transferred from the fields of the raw data into the attributes of the newly created objects.
- In our example, we see that the first step was successful, but the second was not.
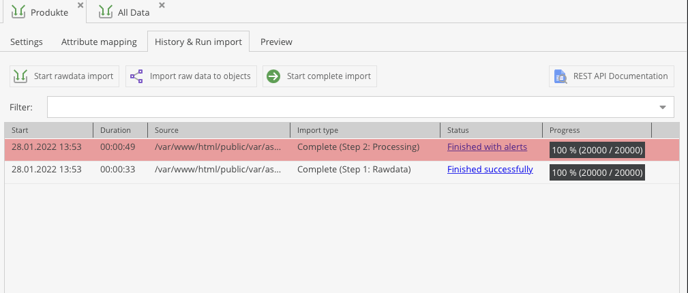
The error message that appears in the overlay when you move the mouse over the link "Finished with alert" suggests that a simple string was not expected as the manufacturer, but that the attribute type is a relation. - We recognize this by the symbol in front of the attribute "Manufacturer" on the tab "Attribute mapping".
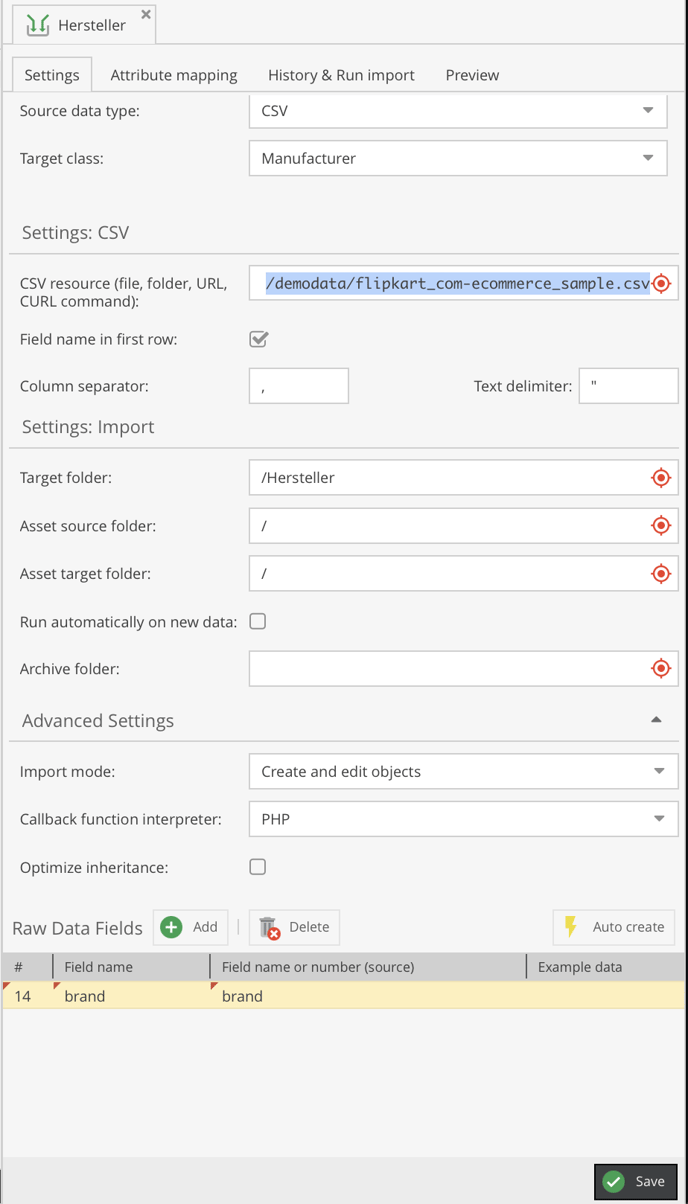
- To solve the problem, we first have to create objects of the class "Manufacturer" so that we can reference them later. To do this, we proceed in the same way as before. We create a new dataport "Manufacturer". In contrast to the dataport "Products", we only need the manufacturer's name. Therefore, we delete all "Raw Data Fields" except for the field "brand" after we have created the fields with Auto create. This makes the mapping in the second step much faster. We also enter "Manufacturer" under "Target folder:" so that our manufacturer objects are saved in a folder with the same name after creation.
- Then we map the manufacturer name:
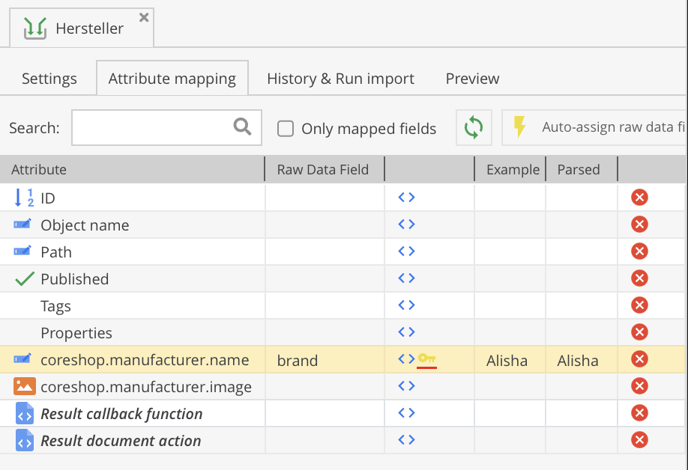
- And start the complete import. While the import is still running, we can see how the manufacturer objects are created in the "Manufacturer" folder.
- Now that the manufacturers are available, we can adjust the dataport "Products".

We click on the two angle brackets (< >) of the attribute "Manufacturer" for this. In these settings, PhP code can be entered to manipulate the data during mapping. There are templates for common applications. We choose the template "Assign Manufacturer object at name".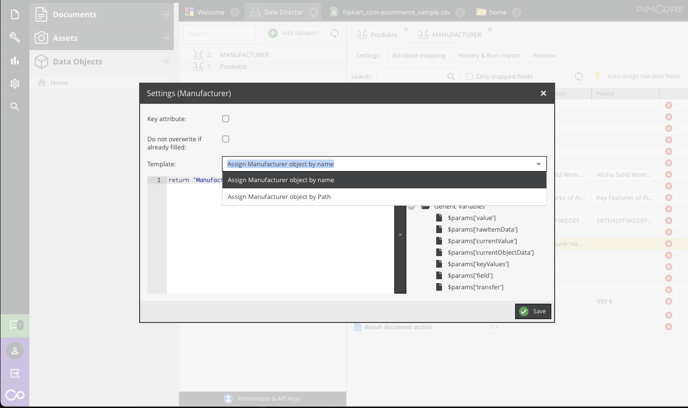
We ignore the note about indexing the attribute "name" at this point. We can now start the mapping again. - The second step now takes much longer, the progress bar informs us about the status of the import.
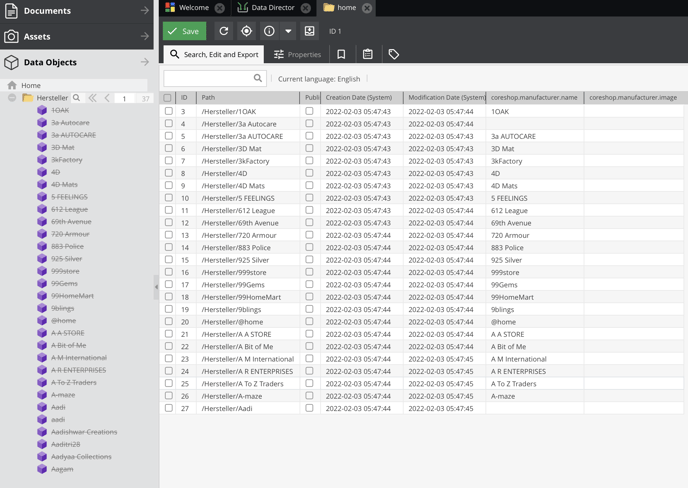
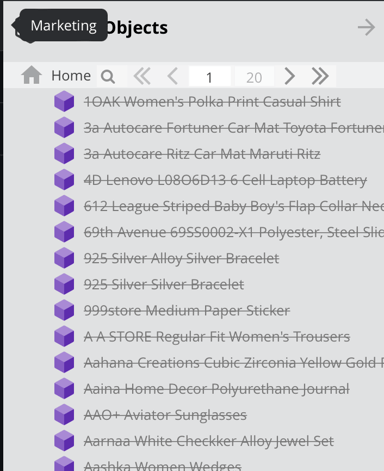
- Under "Data Objects" we now find the freshly created objects of the class "Products".
- With the Data Director, data can be easily and comfortably imported into Pimcore and exported from Pimcore. This small tutorial is intended to explain the basic working method with the Data Director, everything else would go beyond the scope of this tutorial. You can find more detailed instructions in our Data Director video tutorials:
- Pimcore Tutorial: Importing CSV files into Pimcore.
- Pimcore Tutorial: How to automate Pimcore data imports and exports?
- Pimcore Tutorial: Pimcore Data Director - Automatic translation with DeepL and special import cases
- Pimcore Tutorial: Pimcore Data Director - Can the Data Director also be used to export data and create REST API endpoints?